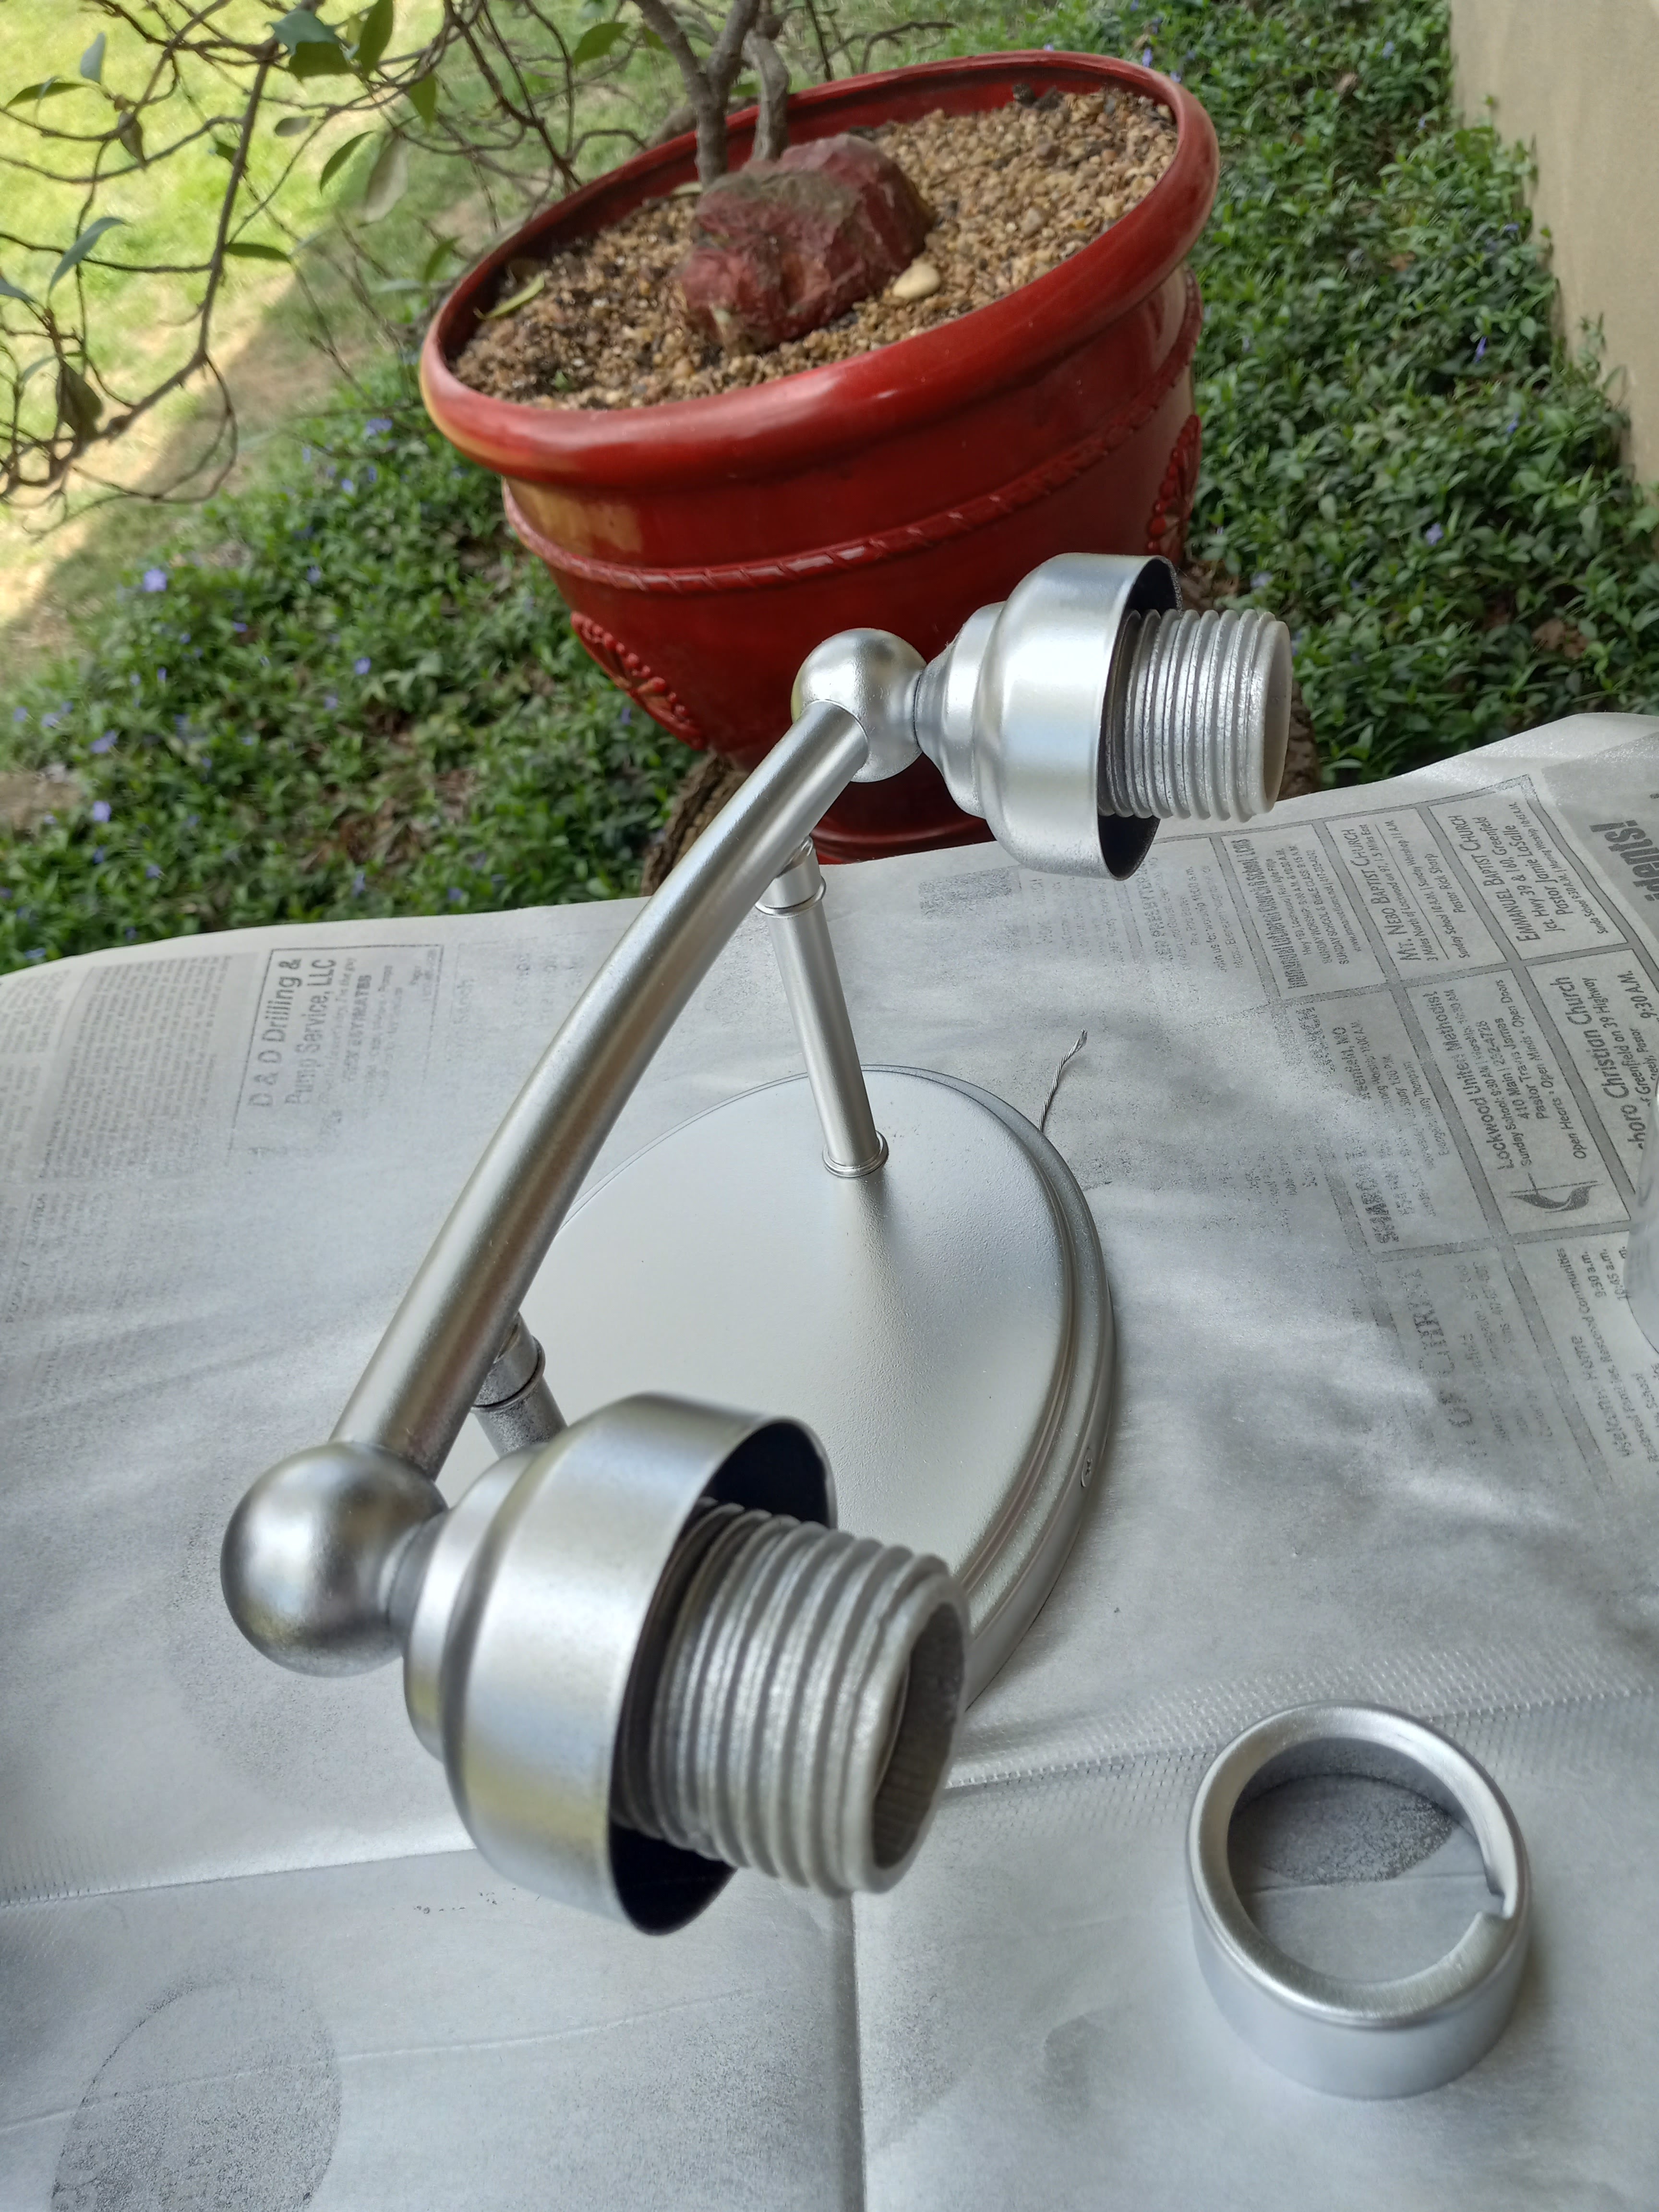
Showing posts with label Spraypaint. Show all posts

Sunday, June 25, 2023

The Firepit Area

The firepit area was once a chicken coop.  Now all that is left is a bit of foundation and a concrete slab.  We had an overgrown jungle to deal with (my husband did most of the hard labor to clear it.)

There are two levels.  The upper level is the firepit seating area.  (It is bigger than it looks from this angle).  The lower area is only partially concrete.  

The big rock in the middle isn't going anywhere -- so we have to figure out how to make it look like more of a feature. (Pictured above is some of the fossils in the big rock.) There is a little section right behind the rock where I want to plant a small "understory" tree.  

And that whole front section will become a simple shade garden.  This fall I will plant some hostas and maybe bring in a couple more large rocks. (My husband will be excited to hear about the "large rocks".)

Metal lawn chairs (we talked about those in an earlier post) that we purchased for $150 from Facebook Marketplace.  Of course they received a coat of spraypaint and I put little rubber feet on them to help prevent rust. The metal firepit needed to be round, because we wanted to incorporate the rounded landscaping bricks which the previous owner had used as his firepit. We learned that you can't build fires right on concrete, the heat will eventually destroy the concrete. This one was around $100 from Lowe's.  It is ready for guests!

Saturday, June 3, 2023

Deck Makeover By Stephen


Hiring Stephen put the back deck on the front burner. 
 We had barely hired him and he had bleached the siding ("before" on right.)

He repaired the stairs and the stair rails to the deck. 
They need to age a bit before we stain them.

He cleaneded and stained the deck. We chose a gray "pewter" stain from home depot for all the horizontal surfaces.  

The table $15, four chairs $60 and umbrella $45 all came from Habitat Restore.  
Outdoor rug came from Kohl's, 5x8 about $65.

Solar string lights, $30 from Amazon.
Update: they never worked.  Had to get two sets to replace them.  Frustrating.

Metal Art came from my thrift store, $7.
  And yes, it got some tweaking with spraypaint.

Tuesday, April 18, 2023

Faux Mercury Glass Light Fixture Tutorial


This is the "before" picture of the Charming Mid-Century AirBNB kitchen. (Not so charming, is it?)
Notice the pendant light near the window.  Very plain, the lightbulb was so large it actually stuck out of the bottom of the clear glass shade.  I am following a (somewhat strange) rule of decorating for this house -- I don't want to see any light bulbs.  I think we can agree that mid-century was not an Edison Light Bulb era.  

This is looking toward the same wall now.  Slightly funky perforated corrugated metal wall.  I don't have room in the budget to replace the pendant light.  But I decided to make it blend in a little better with the weathered metal of the wall by painting it to look like a faux mercury glass shade.

There are all kinds of instructions for spray painting the inside of clear glass to make it look like mercury glass. I choose a "recipe" that seemed to make the glass look more authentic and aged.  For prep I cleaned all of the built-up kitchen grime off of the glass -- yuck.  

You will need:
-- frosted spray paint
-- paper towel
-- painters tape
-- plastic wrap
-- white vinegar
-- spray bottle
-- mirror spray paint
-- oil rubbed bronze spray paint

#1 -- You are SUPPOSED to spray frosted spraypaint on to a paper towel and smear around the interior.  I THOUGHT I already had frosted spray paint, but it turns out I just has a satin "finishing coat" spraypaint -- so I just used that to save some coin.  Allow to dry.

#2 -- Use a combination of painters tape (for edges) and plastic wrap around the outside to protect the exterior glass.

#3 -- Fill a spray bottle (one that has a spray setting) with straight white vinegar (you don't need much.)  But of course I didn't have that either, so I used White Wine Vinegar.  Spray a very light coat on the inside (light so there aren't actual drips).

#4 -- Spray inside with Mirror Spray Paint (this was $10 and was my total cost for the project) before vinegar dries.  A light coat, you still don't want drips.  Allow to dry.

#5  Repeat steps #3 & #4.  You are shooting for about 80% mirror coverage on the inside. Allow to dry 12-24 hours.

#6 -- Spray very lightly (from a distance) with Oil Rubbed Bronze Spray Paint.  (Yes, crazy -- I did actually have that.) The ORB is what gives the illusion of age.  Allow another 24 hours to dry before using / installing.

The "after" of the light shade.

Back in the usual spot.


Friday, April 14, 2023

The Plan For The Bathroom


Plan #1 -- HAVE BOB DO IT.  It is so calming simply handing this job off to someone else.  Just write them a big fat check and be done with it.  Most of the work in the bathroom is beyond my skill set, so I am happy to pass the buck to Bob.

Gray walls.  Surprise!  (Like every room so far.)  

These walls are faux wainscot paneling.  My husband applied mud to the grooves in the upper part, so that I can stencil on that section of wall (super tedious process, and had to be done twice, then sanded & primed!) The whole bathroom is so tiny, it won't take too long to paint or stencil.  There will be a 1"x3" black chair rail (like the kitchen and den) dividing the wall into sections.

New bathroom exhaust fan / light (hard to find a good deal on those).  Two sizes of tile on the floor -- purchased from Habitat Restore for a whopping $26.  

Keeping the toilet and sink,but replacing bronze sink fixtures.  We found a box of brand new chrome sink fixtures that were left in the house, so if they fit ....   Taking out medicine cabinet and replacing with mirror ($14 from an antique store). Probably just spraypainting the existing bronze light above the mirror.

And then the big money.  Taking out the harvest gold tub and replacing with walk-in shower.  Using new corrugated metal panels as the shower walls.  New shower fixture.  And expensive sliding glass shower doors....

Thursday, April 13, 2023

Progress In The Kitchen - Day 2

 It occurred to me while lying in bed, that Bob might be hanging the kitchen shelves today.  That meant that the wall behind them needed to be painted.  So I rolled out of bed and got to the MCM AirBNB by 8:30 am to start rolling the kitchen walls.  I only beat Bob by about 5 minutes.  But I did get the walls rolled while he finished the metal accent wall and figured out the "backsplash" of corrugated metal over the countertop.

At the end of the (very productive) day Bob had: 

-- Finished the metal corrugated wall on the west end of the kitchen.


-- Finished the backsplash metal above the countertop.

-- Trimmed out the backsplash with 1"x 2" boards that I had purchased, sanded AND spraypainted black yesterday. Ended up having to paint the backsplash trim.

-- Put up heavy duty brackets for 3 out of 4 open shelves.  He would have had all of them up, but I didn't get all of them ordered in time, the last won't arrive until Sunday.


At the end of my (very exhausting) day, I had:

-- Rolled one coat of tan in kitchen

-- Did some touch up paint in kitchen

-- Filled grooves in bathroom with mud

-- Ran to hardware store for mirror spraypaint, mud, kitchen sink baskets

-- Rolled and cut in one coat of tan in the den

Thursday, March 30, 2023

Mid-Century Metal Lawn Chairs -- SWOON!


I may not have always been sold on the mid-century look (I lived it baby!) But through my entire antiquing career I never failed to be in love with the old metal lawn chairs.  You know, the kind that used to sit in front of roadside motels.  I have bought and sold DOZENS.  But I have also managed to keep about a dozen.  

And out of those I am only donating one to the newest AirBNB.  The double glider.  It still glides like a breeze.  While I do love the two-tone chippy paint, not everyone is convinced that they want to sit on rust.  So I revved up my palm sander and smoothed down all of the rough spots.  

Here it is after the first coat of orange.
I sprayed all the "bare" or rusty spots with a Rustoleum primer (because I happened to have a can). But I don't think this step was necessary with the quality of spray paint Rustoleum makes.  I decided to do the chairs in the firepit area in citrus colors. The glider is Rustic Orange.  


On the same day I started working on the glider, I found four matching mid-century (folding!) metal lawn chairs on Facebook Marketplace for $150.  They will eventually be gold and white. We have a fantastic area for a firepit, and these chairs will be surrounding the firepit.

Open House & Now A Well Deserved Rest

Real estate photo -- "before" "after" -- Sunday Open House Sunday afternoon was our open house at our Mid-Century Modern...