Wednesday, May 3, 2023

The Laundry Room In All Of It's Glory


The original pitiful little laundry area was never a laundry "room".
Just an ugly little branch off of the kitchen.
I needed that to change -- both for AirBNB looks and locked place where I could store linens.

Bob went the extra mile to finish the laundry room wall and door before the flooring guys came.
And of course, yours truly had to get that wall primed and painted.
Now it can be called a room!

The new flooring made it look so glamourous. 
Of course Bob got the baseboard in after this pic was taken.

We bought a new stacking washer/dryer from Lowe's.
It certainly wasn't cheap.

And a folding station!  We repurposed a section of the kitchen counter. FREE.
The cabinets below were left over from my own kitchen renovation.  FREE.

The top wire shelf came from one of the bedroom closets. FREE.
The shelves will be great for storing extra linens.
I love me a good laundry room.

Tuesday, May 2, 2023

(Barely) Surviving The Bathroom Wall Stenciling


I priced wallpaper for the bathroom.  I mean, it's small -- so how much could wallpaper be?  Shocking.  The peel and stick Magnolia brand was lovely, but would have drained valuable decorating dollars.  (Not to mention how much we hate wallpapering.)  So we chose a Mid-Century type of wall stencil.


It is only for the top half of the bathroom walls, and only on the front 2/3 of the bathroom.  But first there is always the tedious prep work.  Taking down the towel rack, medicine cabinet.  Filling in and sanding all of the groves in the wainscot paneling. Really hard😓. The prep work actually took a couple of weeks -- I could only stand to mud the walls an hour at a time. Then the sanding. Then painting on a coat of good primer to seal the plaster. 

The lower half of the bathroom is a lighter shade of gray.  
(My husband says we are doing "fifty shades of gray" in the house.)  

The top half I painted a darker shade, so that the white stenciling will really pop.

We purchased the stencil from ebay for $22.


Then the snails-pace stenciling. Attach with tape. Stencil -- dabbing a "dry" brush 1000 times.  Remove stencil.  Allow to dry.  Repeat process 25 times. Question life choices.  Like:  Why, why did I choose stenciling?

Monday, May 1, 2023

Primary Bedroom Bones Done

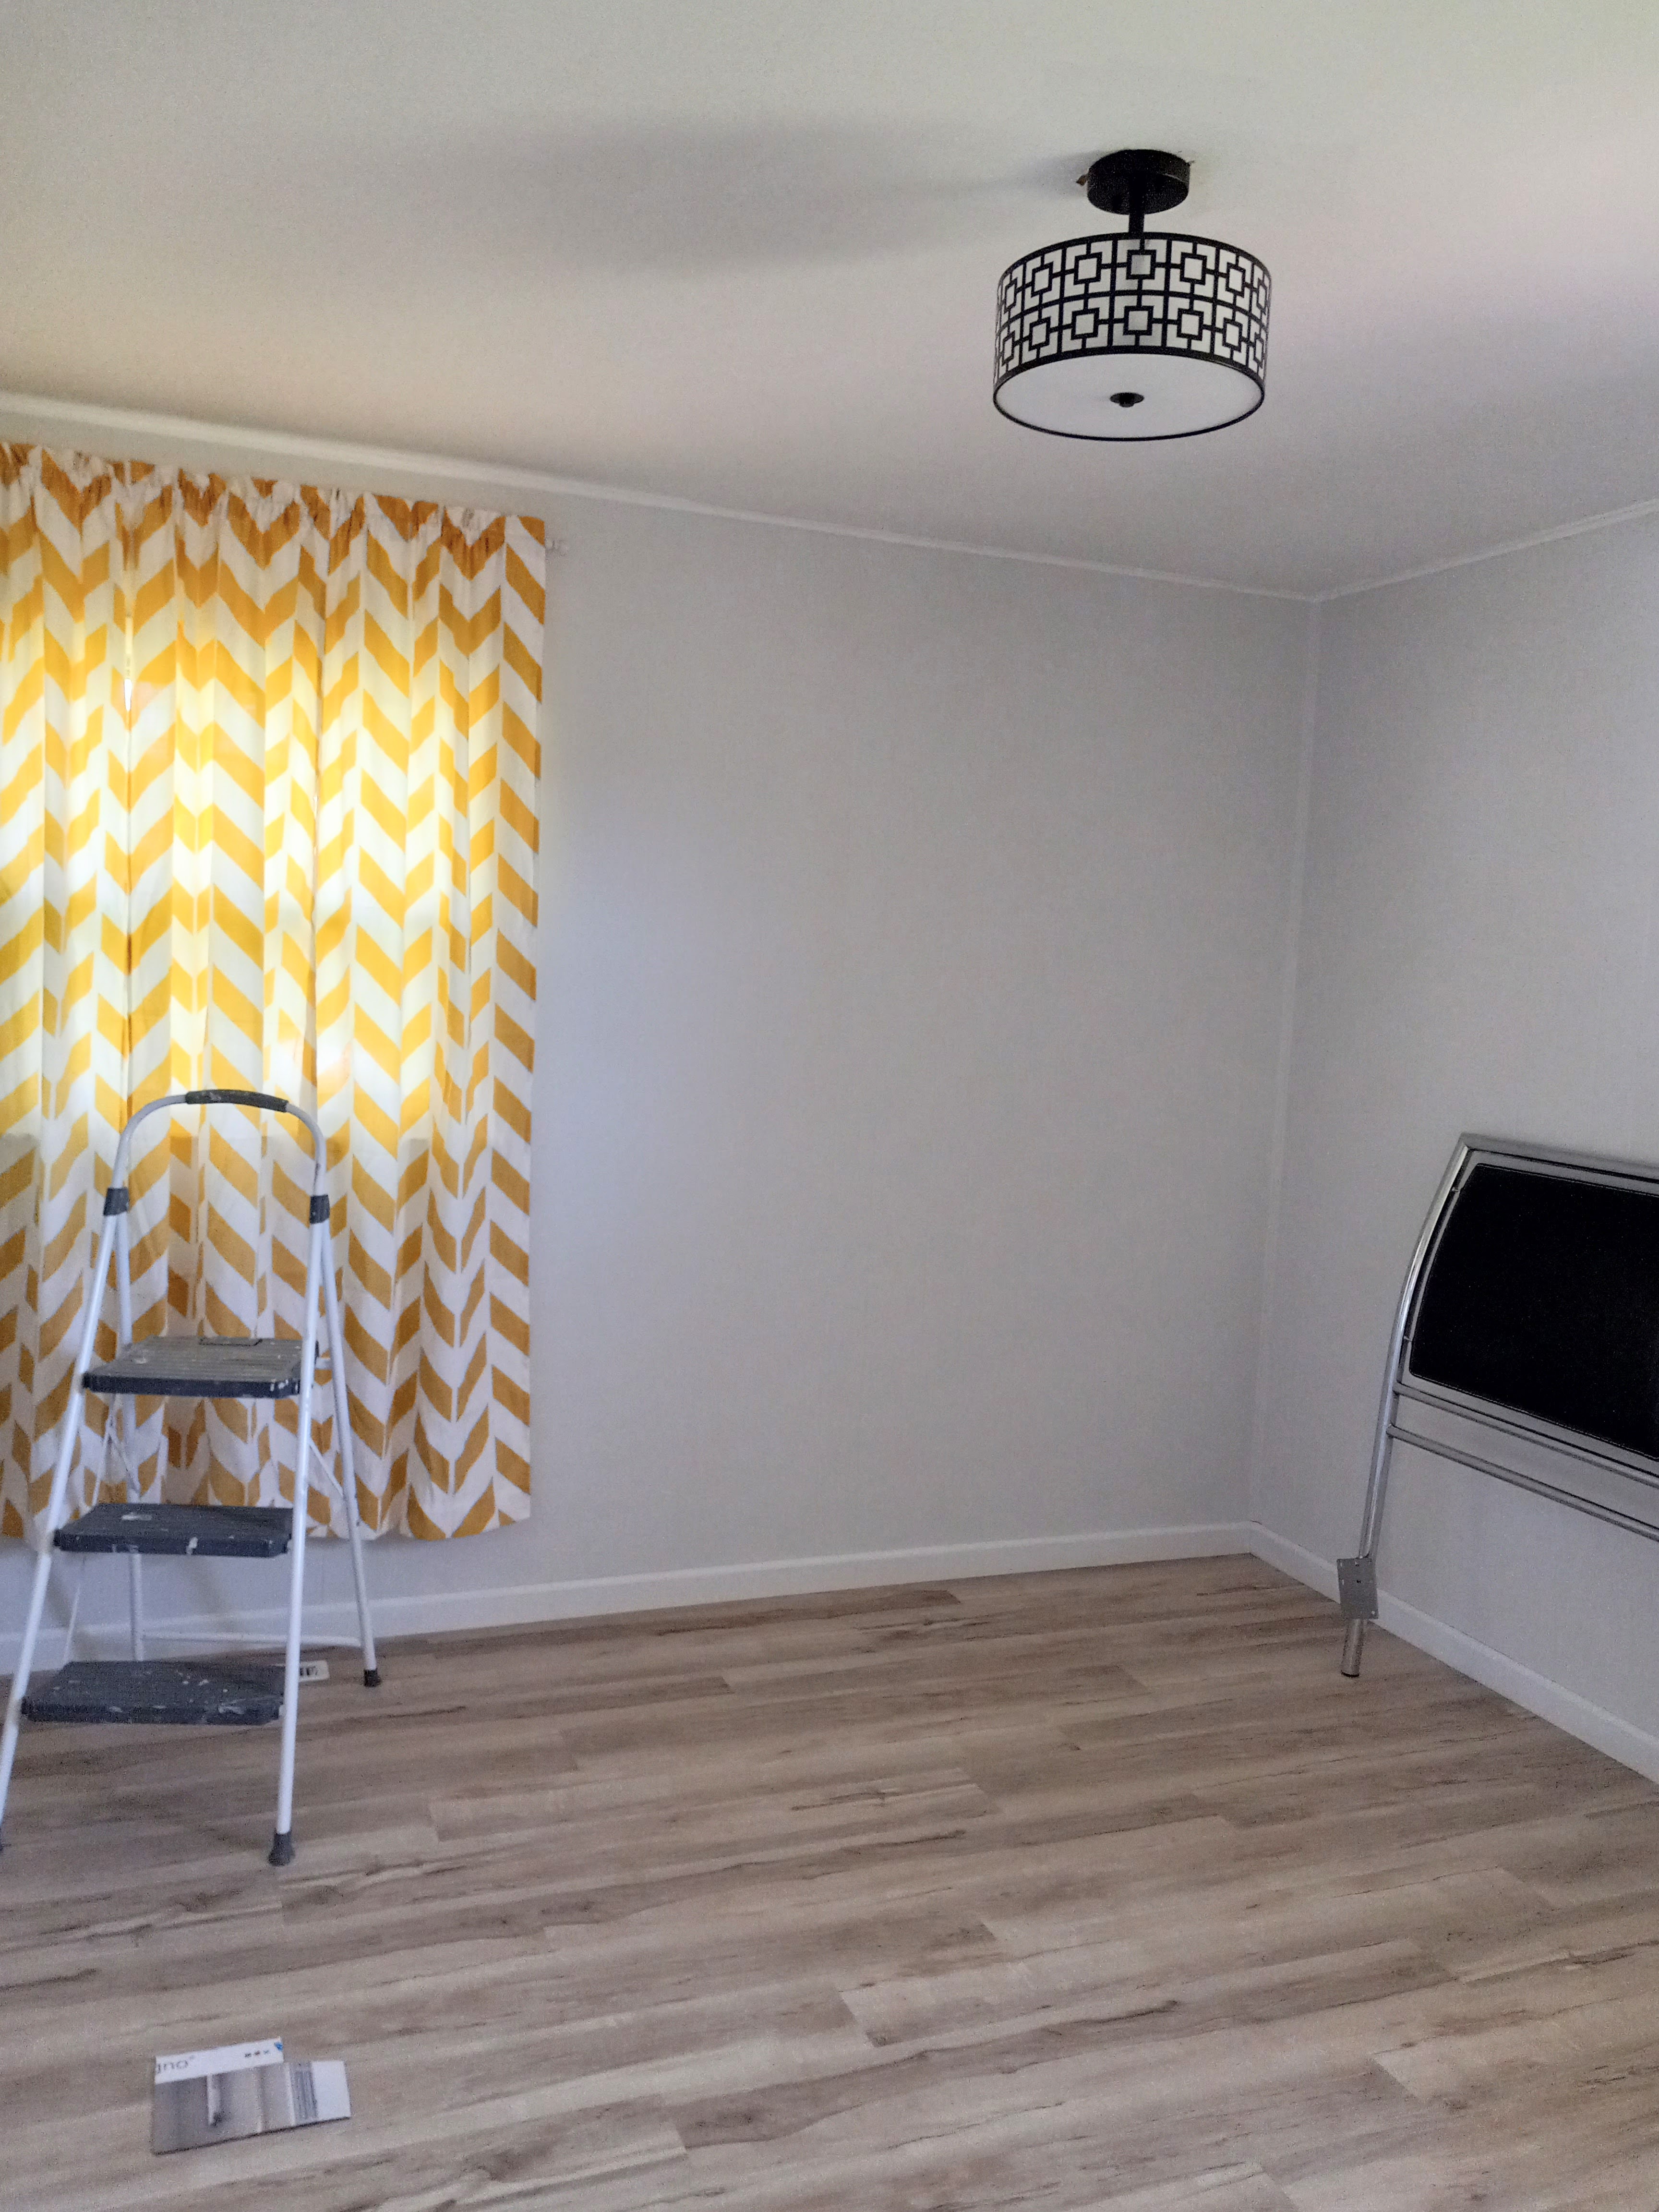
This bedroom will be the "main" bedroom.  The one with a queen sized bed.  Why did we choose the bedroom in the back of the house for the main bedroom?  Quiet, less road noise.  But mostly, it will have a view of four acres of wildflowers sometime in the future.  To compensate for the lack of natural light, I choose a very light gray paint for the walls.

The drum ceiling light, I plan on having black accents in this room so I went with a light with black geometric design. Curtains hung.  I had a dilemma with 84" curtains.  Hang them high (which I what I am inclined to do), or lower so that they hit the floor?  I obviously went higher, it's just my preference.
The walls and floorboards have all been touched up.  This baby is ready for a bed!

Repainted white closet, with no door.

Sunday, April 30, 2023

Flooring IS DONE!


Actually, the floor has been done for about 5 days now, but we didn't have internet service.
The Home Depot subcontracts, and the guys that did the flooring did a great job.
This is the living room, you can see a sneak peek of our artisan-made swag light.

It only took them 1 1/2 days to do the entire house,
which included some trouble spots that I mentioned in the last post.

You know that nagging feeling:  "I paid over $6000 on flooring,
I hope I like the style that I picked".  Fortunately, I do.

Can you imagine how much easier this will be to clean, 
as opposed to the shaggy carpet?

Wednesday, April 19, 2023

Finished Construction In The Kitchen!!


When I say we are finished in the kitchen, I mean 
The bones.  The foundation on which we can start equipping the kitchen for use.
And soon the fun stuff -- decorating.
Bob finished hooking up the plumbing to the kitchen sink.


And the last bracket finally arrived from Amazon, so the open shelves went up.
I painted all of them matte black -- I love the look with the metal and countertops.
Update: Ended up having to paint them all semi-gloss black so that I could clean them.
Bob made a little plate groove on the back of each shelf, so I can stand up plates.

Bob hung the pendant light that I put a mercury glass finish on.

I finished painting the walls tan -- three coats of cutting in and two coats of rolling. Argh!
Not for the weak of heart.  I went out and purchased metal electrical plate covers to blend with the corrugated metal.  

It actually went very close to the original kitchen plan.
. Except for not being able to use the first countertop that we had purchased.  Overall, pretty good plan.

Tuesday, April 18, 2023

Faux Mercury Glass Light Fixture Tutorial


This is the "before" picture of the Charming Mid-Century AirBNB kitchen. (Not so charming, is it?)
Notice the pendant light near the window.  Very plain, the lightbulb was so large it actually stuck out of the bottom of the clear glass shade.  I am following a (somewhat strange) rule of decorating for this house -- I don't want to see any light bulbs.  I think we can agree that mid-century was not an Edison Light Bulb era.  

This is looking toward the same wall now.  Slightly funky perforated corrugated metal wall.  I don't have room in the budget to replace the pendant light.  But I decided to make it blend in a little better with the weathered metal of the wall by painting it to look like a faux mercury glass shade.

There are all kinds of instructions for spray painting the inside of clear glass to make it look like mercury glass. I choose a "recipe" that seemed to make the glass look more authentic and aged.  For prep I cleaned all of the built-up kitchen grime off of the glass -- yuck.  

You will need:
-- frosted spray paint
-- paper towel
-- painters tape
-- plastic wrap
-- white vinegar
-- spray bottle
-- mirror spray paint
-- oil rubbed bronze spray paint

#1 -- You are SUPPOSED to spray frosted spraypaint on to a paper towel and smear around the interior.  I THOUGHT I already had frosted spray paint, but it turns out I just has a satin "finishing coat" spraypaint -- so I just used that to save some coin.  Allow to dry.

#2 -- Use a combination of painters tape (for edges) and plastic wrap around the outside to protect the exterior glass.

#3 -- Fill a spray bottle (one that has a spray setting) with straight white vinegar (you don't need much.)  But of course I didn't have that either, so I used White Wine Vinegar.  Spray a very light coat on the inside (light so there aren't actual drips).

#4 -- Spray inside with Mirror Spray Paint (this was $10 and was my total cost for the project) before vinegar dries.  A light coat, you still don't want drips.  Allow to dry.

#5  Repeat steps #3 & #4.  You are shooting for about 80% mirror coverage on the inside. Allow to dry 12-24 hours.

#6 -- Spray very lightly (from a distance) with Oil Rubbed Bronze Spray Paint.  (Yes, crazy -- I did actually have that.) The ORB is what gives the illusion of age.  Allow another 24 hours to dry before using / installing.

The "after" of the light shade.

Back in the usual spot.


Saturday, April 15, 2023

Progress In The Kitchen - Day 3

 As usual, Bob was the winner for having accomplished the most in one day:

-- He cut a hole for the sink and "dropped it" (not really, just cool builder jargon). We reused the old porcelain sink, probably original to the 1972 house. He also traded out the brown faucet with brushed nickel (new from Lowe's -- $200 ouch). 

-- He put a new lock on the deck sliding doors.

-- And he managed to completely demo half of the bathroom.


My contribution was:

-- finishing all tan painting in the kitchen.

-- rolling another coat of tan in the den.

-- and going to Lowe's TWICE. Once for a new lock for the deck, and the second time for shower hardware.

Open House & Now A Well Deserved Rest

Real estate photo -- "before" "after" -- Sunday Open House Sunday afternoon was our open house at our Mid-Century Modern...